These Shopify SEO apps offer unique features to help merchants optimize their online stores and improve search engine rankings.
Additionally, it boosts your store’s visibility, drives more traffic, and helps achieve the desired profit.
Top 7 Shopify SEO app: short overview
- Tapita SEO & Speed Optimizer: Tapita offers a dual solution by optimizing both SEO and website speed.
- SearchPie SEO & Speed Optimize: SearchPie focuses on optimizing both SEO and website speed
- Tiny SEO Image Optimize, Speed: This app specializes in optimizing images for SEO and speed
- SEO Manager | venntov: SEO Manager by venntov offers a comprehensive suite of SEO tools for Shopify stores.
- AI SEO Optimizer – SEOmatic: SEOmatic utilizes artificial intelligence to optimize Shopify stores for better search engine rankings.
- GoSEO – SEO Products Optimizer: GoSEO focuses on optimizing product pages for better search engine visibility and conversions.
How a SEO app can presence in online and boost your sales
An SEO app plays a crucial role in establishing and maintaining your online presence, driving targeted traffic to your website, and ultimately boosting sales through improved visibility, user experience, content optimization, competitive advantage.
Top 7 Shopify SEO app: in-depth reviews
1. Tapita SEO & Speed Optimizer
Tapita SEO & Speed Optimizer
Rating 5 out of 2103

Price
Features
Shopify App Store
Free to $49.99/month
Duplicate content,Bulk editing,Image compression
Customers love this app because it boosts website SEO and speed a lot. They like how easy it is to use, and they can keep an eye on their SEO health in real-time. It’s great at optimizing images too. People say they get more visitors from search engines, their site ranks better, and it loads faster, which means more sales. Plus, there’s a free version that works really well.
Tapita SEO & Speed Optimizer pros
- User-Friendly Interface
- Real-Time Monitoring
- Effective Image Optimization
- Increased Organic Traffic
- The customer support team is praised for their responsiveness and expertise
Tapita SEO & Speed Optimizer cons
- Expensive subscriptions
- Learning Curve
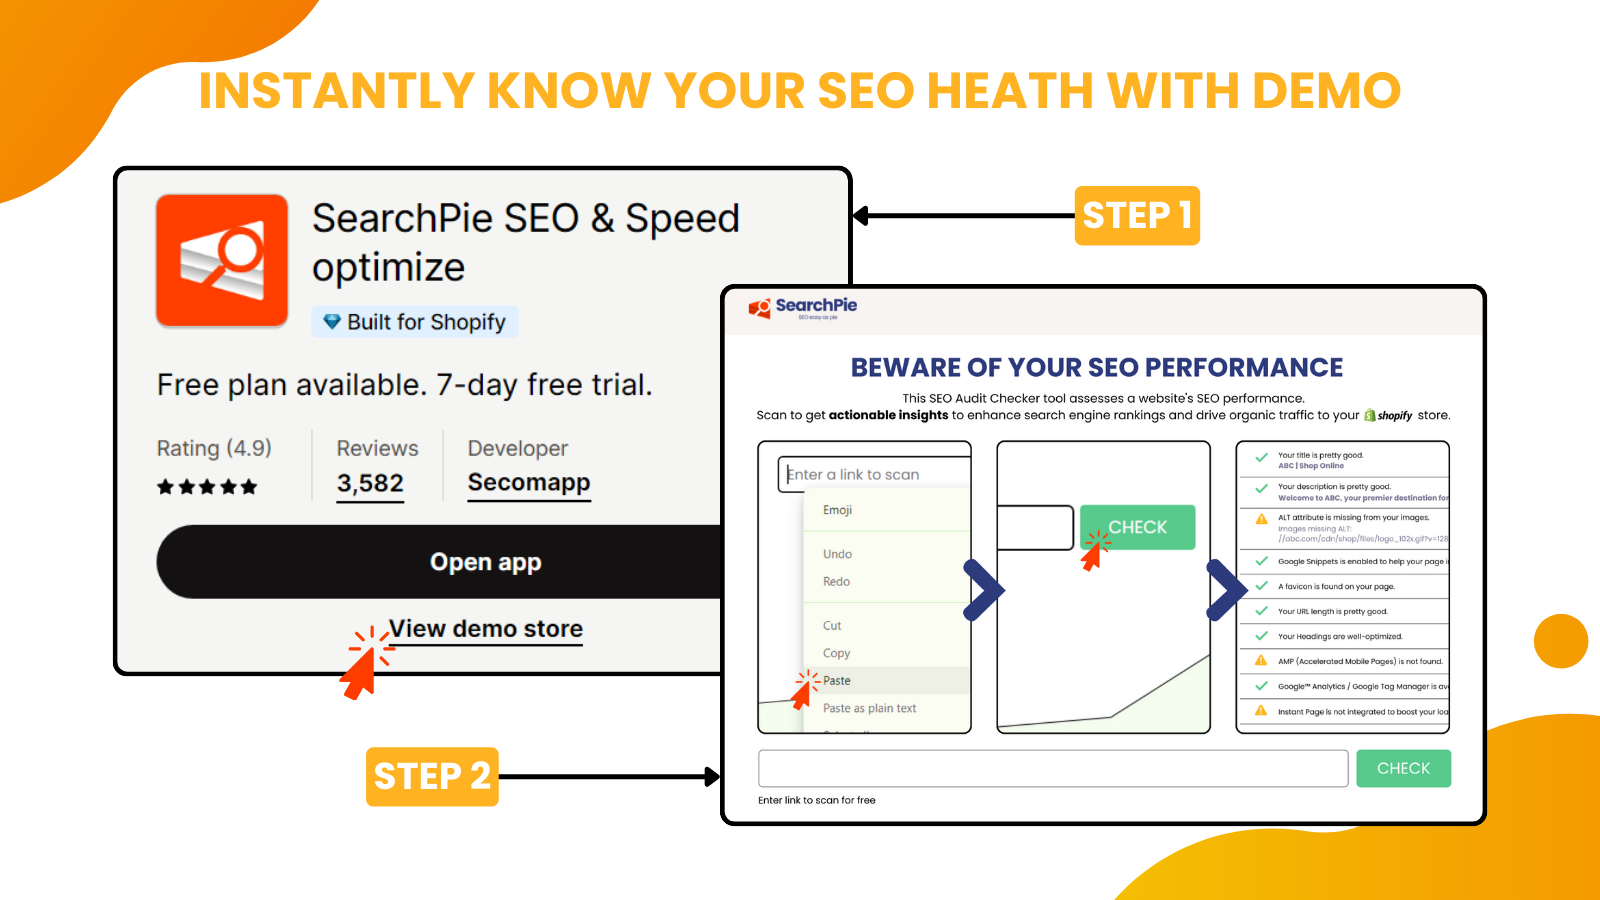
2. SearchPie SEO & Speed optimize
SearchPie SEO & Speed optimize
Rating 4.9 out of 3737
Price
Features
Highlights
Shopify App Store
Free to $99/month
Backlinks, AMP pages, Rich snippets
Built for Shopify
SearchPie SEO & Speed Optimize: SearchPie focuses on optimizing both SEO and website speed, aiming to enhance search engine visibility and user engagement. It provides tools for meta tag optimization, structured data markup, and performance optimization to boost Shopify store rankings.
SearchPie SEO & Speed optimize pros
- Comprehensive SEO Optimization
- User-Friendly Interface
- Real-Time Monitoring
- Customization Options
- The customer support team is praised for their prompt, professional service and step-by-step guidance.
SearchPie SEO & Speed optimize cons
- Expensive subscriptions
- The app could be more eye-catching
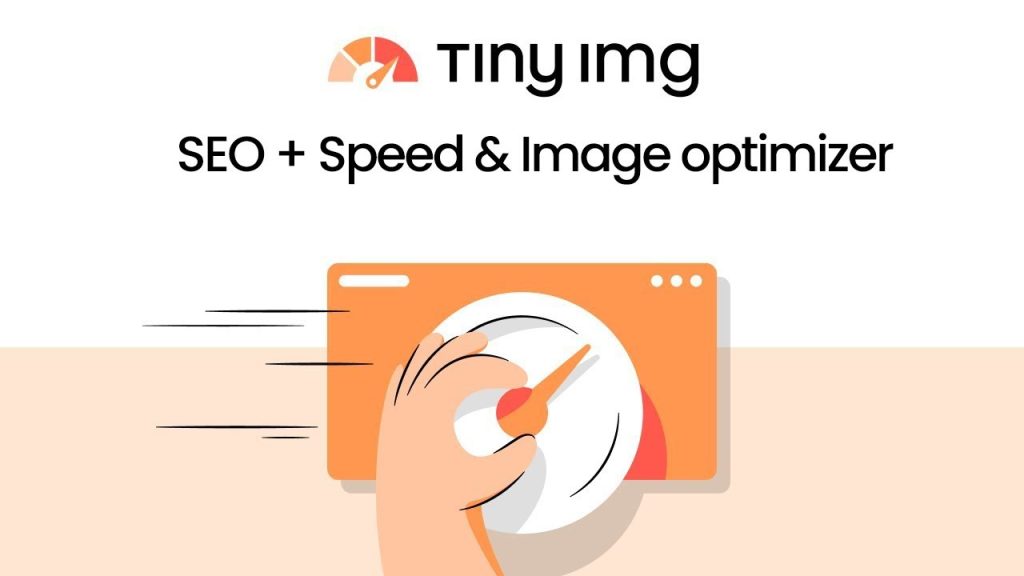
3. Tiny SEO Image optimize, Speed
Tiny SEO Image optimize, Speed
Rating 5 out of 1969
Price
Features
Highlights
Shopify App Store
Free to $24/month
Image resizing, JSON-LD, Lazy loading
Built for Shopify
Tiny SEO Image Optimize, Speed: This app specializes in optimizing images for SEO and speed, improving website performance and search engine rankings. It automatically compresses and resizes images while optimizing alt texts for enhanced visibility.
Tiny SEO Image optimize, Speed pros
- Better search engine rankings
- Bulk Optimization
- Cost-Effective
- Website speed enhancement
Tiny SEO Image optimize, Speed cons
- Manual Oversight
- Limited Features
4. SEO Manager | venntov
SEO Manager | venntov
Rating 4.7 out of 1727

Price
Features
Shopify App Store
Free to $59/month
Metadata optimization,Sitemaps, Theme optimization
SEO Manager | venntov: SEO Manager by venntov offers a comprehensive suite of SEO tools for Shopify stores. From meta tag optimization to sitemap generation and broken link management, it helps merchants enhance their online visibility and search engine rankings.
SEO Manager | venntov pros
- Comprehensive SEO Tools
- Real-Time SEO Health Monitoring
- Customizable Settings
- Increased Visibility
- Bulk Editing
- Many commend the responsive and helpful customer service.
SEO Manager | venntov cons
- Complexity for Beginners
- Dependency on Manual Intervention
5. AI SEO Optimizer ‑ SEOmatic
AI SEO Optimizer ‑ SEOmatic
Rating 4.6 out of 610

Price
Features
Highlights
Shopify App Store
Free to $40/month
Page indexing, Rich snippets, Broken links
Built for Shopify
AI SEO Optimizer – SEOmatic: SEOmatic utilizes artificial intelligence to optimize Shopify stores for better search engine rankings. It analyzes keywords, optimizes meta tags, and provides recommendations for content improvement to drive organic traffic and conversions.
AI SEO Optimizer ‑ SEOmatic pros
- Comprehensive SEO Analysis
- Real-Time Monitoring
- Automated Optimization
- Efficiently avoids repetition by remembering previously optimized products/images
- Many praise the customer service for its quick and helpful responses
AI SEO Optimizer ‑ SEOmatic cons
- Dependency on AI Accuracy
6. GoSEO ‑ SEO Products Optimizer
GoSEO – SEO Products Optimizer
Rating 4.9 out of 110
Price
Features
Shopify App Store
Free to $14/month
Mobile responsive, Breadcrumbs, Meta tags
GoSEO focuses on optimizing product pages for better search engine visibility and conversions. It provides tools for meta tag optimization, structured data markup, and content analysis to help Shopify merchants maximize their product’s online presence.
GoSEO ‑ SEO Products Optimizer pros
- Product-Specific Optimization
- Comprehensive SEO Tools
- Increased Product Visibility
- Real-Time Monitoring
- Top-notch customer support
GoSEO ‑ SEO Products Optimizer cons
- Limited Features
- Limited Scope
How we chose top SEO apps for Shopify
When choosing an SEO app for Shopify, We follow the key points
- Research: Look into their features, pricing, user reviews, and popularity.
- Features: The app should be able to perform keyword research tools, on-page optimization features, backlink analysis, technical SEO capabilities, ease of use
- Pricing: Evaluate the pricing plans of each app and determine if the features justify the cost.
- User reviews: Take into account user reviews and feedback from Shopify merchants who have used these apps.
- Trial and Testing: Test the top Apps by using trial versions or demos.
Is having a Shopify SEO app enough?
While having a Shopify SEO app is a valuable starting point for optimizing your store’s search engine visibility, it may not be sufficient on its own to achieve long-term success.
Continuously optimizing your store is an essential step toward maximizing your online presence and boosting sales.
Conclusion
We have discussed best shopify apps in detail so that you can choose any of them to boost your store and increase sales.
We have listed their basic functions, reviewed exceptional features, Indicates vulnerabilities, and considered their value for money.