

This article tells about the easiest way to run Flutter App in Android Emulator.
After writing your first Flutter App, it’s time to run it on an emulator or physical device. To set up an emulator or physical device with IDE, follow the steps below.
What Is An Android Emulator? What Are The Steps Required To Run Flutter App In Android Emulator
An emulator is a virtual machine designed to run applications or programs derived from the host system. The use of an Android emulator, which simulates an Android device, allows you to run and test Android applications on your host system without a physical Android device being present. If you are not already familiar with the android studio, running your flutter applications on an emulator can be challenging. To run your Flutter app on an Android emulator, follow the instructions in this article. There are only three easy steps required to run your flutter application on an android emulator:
- Installation
- Connection
- Running
Given below is a detailed explanation of these steps one by one.
People, who read this article also read: Flutter Liquid Swipe Animation
Table of Contents
Installation of the Emulator
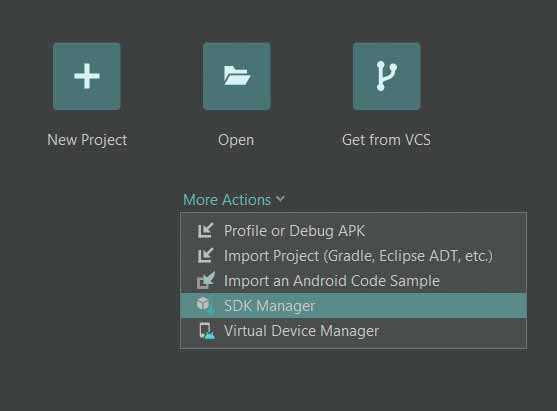
Open the SDK Manager by selecting the “SDK Manager” option from the More Options tab that is located in the system’s center when you launch Android Studio.
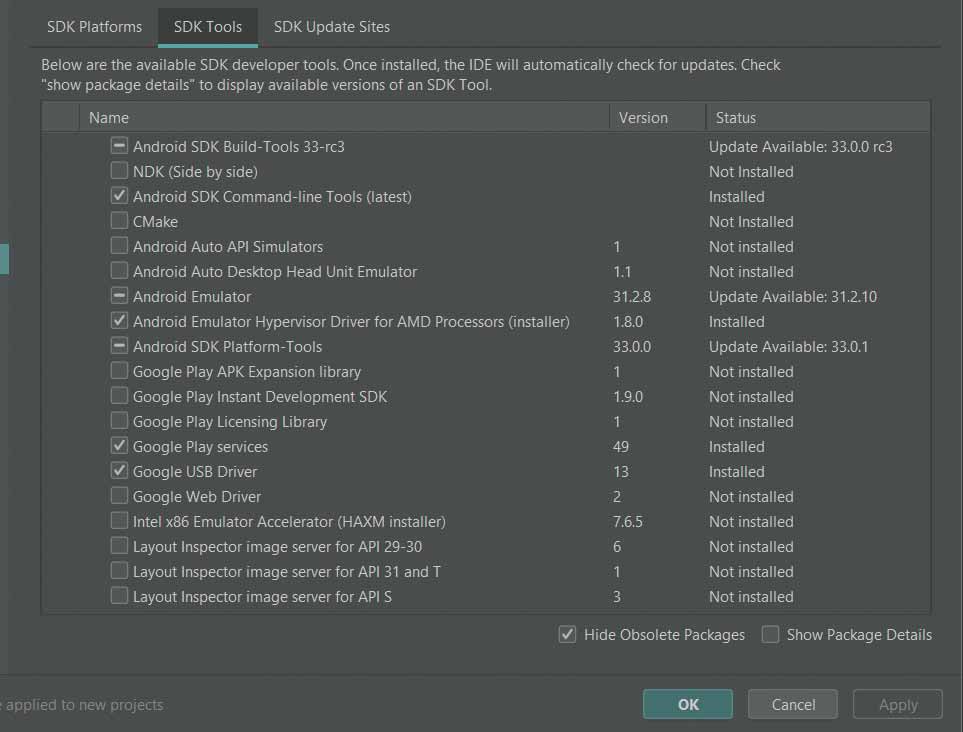
After selecting SDK manager, you will be taken to the Android SDK tab, where you can choose Tools. Click “OK” after selecting the “SDK Tools tab” and checking the relevant boxes.
Command Line Tool for the Android SDK
- Tool for the Android SDK Platform
- Android emulator
- USB Driver for Google
- The installation process for the required components will begin.
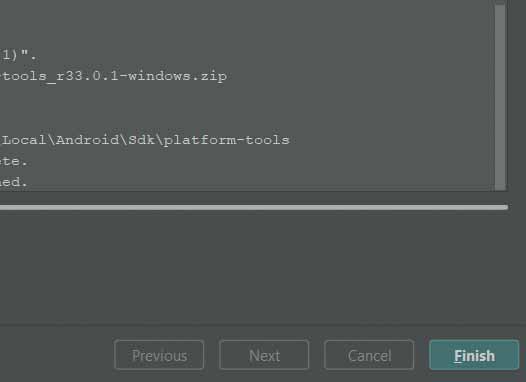
When the installation is complete, click the “Finish” button in the bottom right corner of your screen.
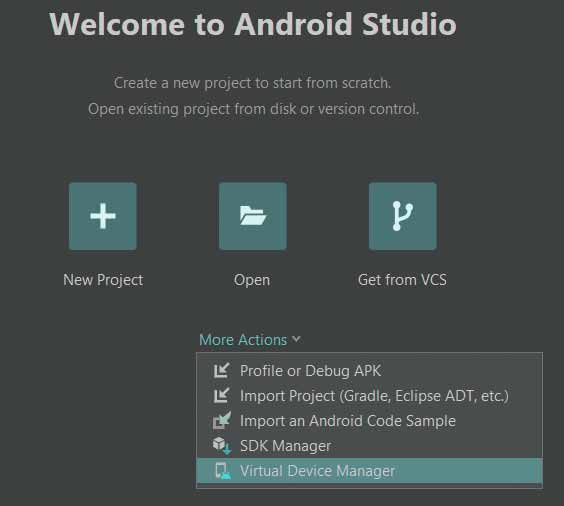
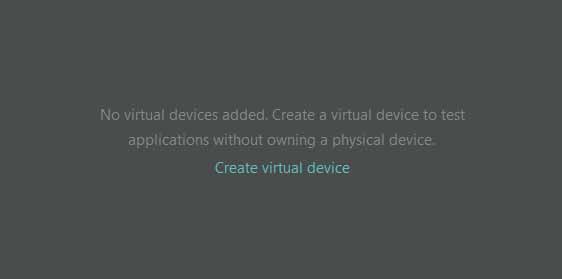
To open the Virtual Device Manager, select the button labeled “Virtual Device Manager” which is located in the middle of the screen next to the SDK manager option.
Create Virtual Device Manager: Select the button labeled “Create Virtual Manager” located precisely in the center of the screen. The hardware selection dialog box will appear.
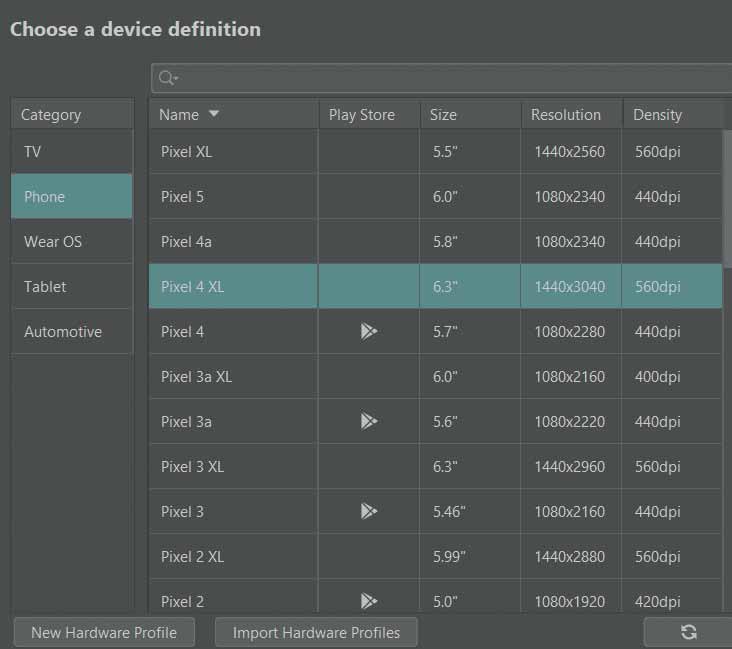
Hardware selection: Choose the kind of Android emulator you want, then move on to the following page.
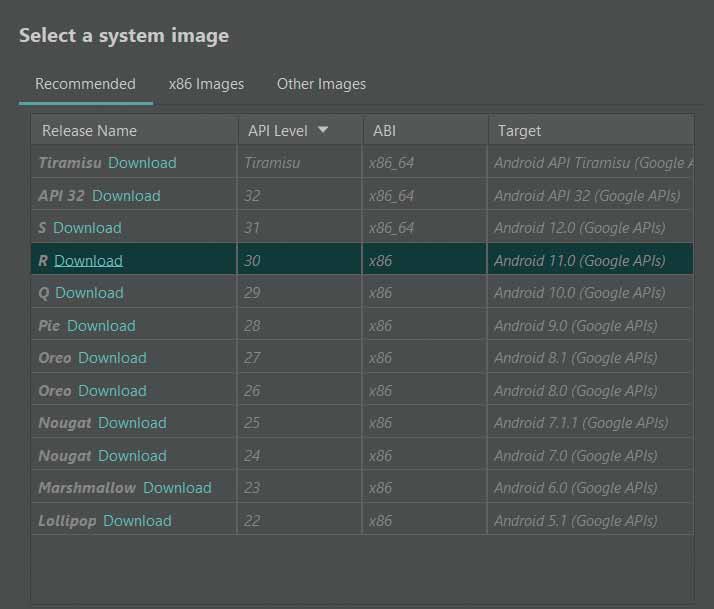
Choose System Image: Decide which system image will be used by your Android emulator, check the settings, and complete the installation. Your virtual machine is now operational.
Creating Connection
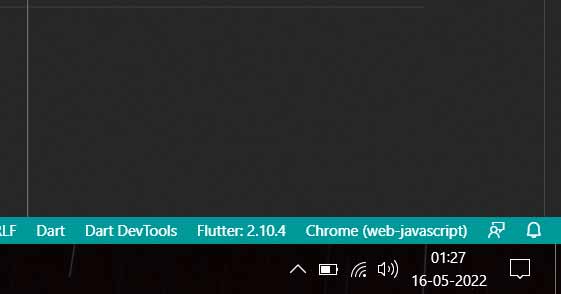
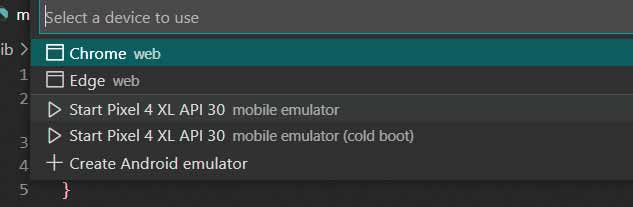
Pick a device: Open VS Code, then select the Flutter Device option from the drop-down menu in the bottom right corner of your home screen.
Choose Device: When you click on the Flutter Device icon, the command palette will display a list of all the devices that are currently available. Choose the emulation program you just made.
Process the emulator: The procedure for opening the emulator will begin. Waiting for it to open up might take a few seconds.
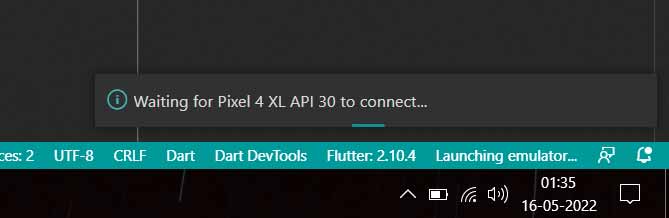
Emulator launched: Your Android emulator is now prepared to run Flutter app in android emulator.

Running the Device
The “Debug mode” setting must be activated in order to configure a physical device.
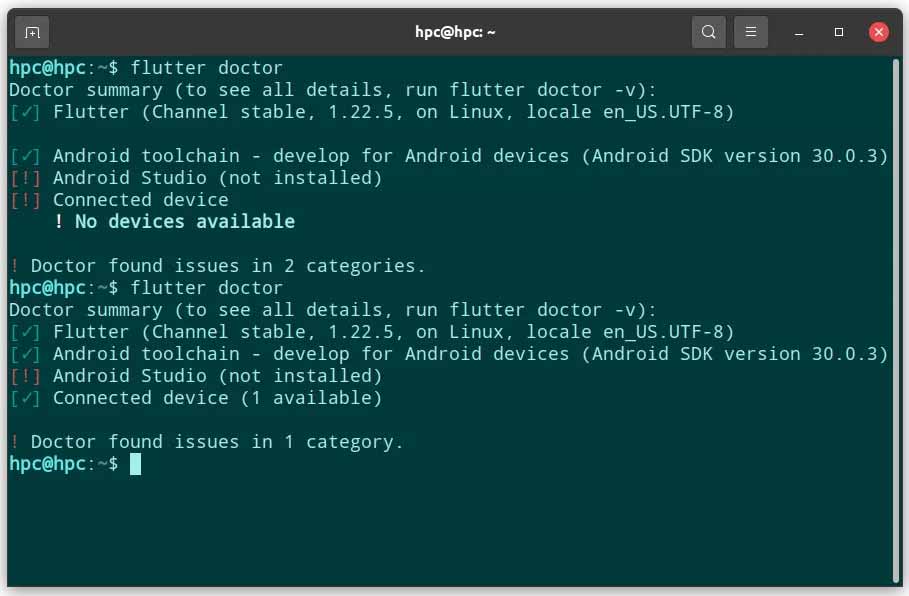
Run the following command in the terminal once everything has been configured.
flutter doctorIt will indicate whether any connected or configured devices are running Flutter apps.
Use the following commands to run your flutter app now:
flutter runThe active emulator or actual Android device will run your Flutter app in debug mode when you issue this command. In debug mode, your app will operate slowly.
People, who read this article also read: Flutter SDK Installation on Windows, macOS, Linux
Run your Flutter app in release mode by entering the command below. Your app’s actual performance will be evaluated in release mode.
flutter run --release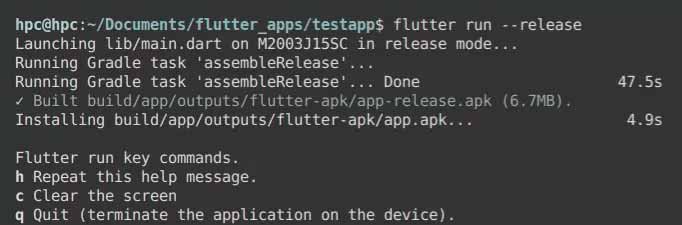
To see the changes made by your code on the user interface, you can hot + restart or hot + reload while in debug mode. Press “Ctrl + r” to perform a hot restart, or just “r” to perform a hot reload.
These were the 3 easiest ways to run the flutter app in the android emulator.
Check the following for a detailed overview


