

This article will show the top 3 best ways to use the Flutter conditional show widget.
You teach machines (hardware) how to execute a process in application development (or, more specifically, software development in general) based on various conditions written in an if-else statement. It’s simple to write an if-else statement in a method or function when creating a Flutter app. However, there must have been a circumstance where you had to include the if-else statement inside your Flutter conditional show widget. Right? In this tutorial, we’ll look at three ways to use the if statement in a Flutter conditional show widget.
People, who read this article also read: Flutter Liquid Swipe Animation
We’ll talk about the following:
Table of Contents
The Challenge
It doesn’t appear to be difficult to construct an if-else statement in a method or function. The error, however, appears when you attempt to use the if-else statement directly in your Flutter conditional show widget.
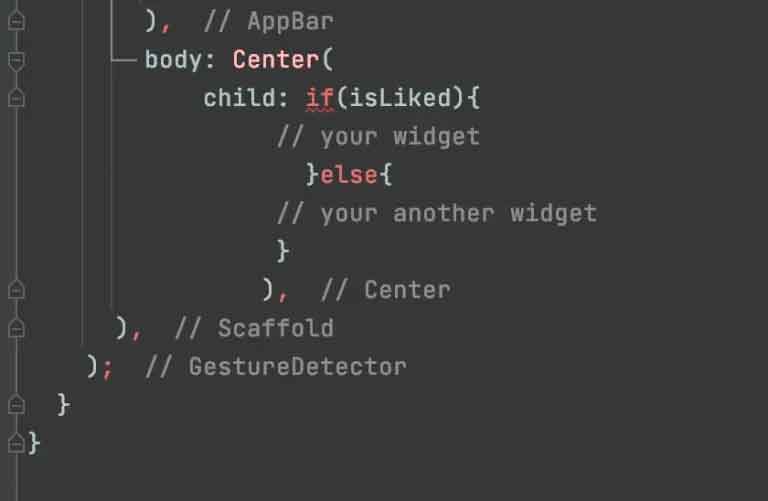
Unfortunately, unlike methods or functions, an if statement cannot be written inside a Flutter conditional show widget. However, there are a few different ways you can construct a conditional statement within your widget. Let’s view them now.
The Flutter Conditional Show Widget If Else Statement: Useful Techniques
The conditional statement can be added to your widget in one of the following three ways.
As follows:
- By means of the Ternary Operator
- Making use of the Spread Operator
- Utilizing the Method
Any of these can be used to create an if else statement in a Flutter conditional show widget based on your needs.
By means of the Ternary Operator
An operand for a ternary operator is three. The first condition is followed by an expression if the condition is true, and the third is an expression if the condition is false.
Here’s how it appears
(age > 18) ? 'Eligible for license' : 'Not eligible'The code above states that a user is eligible for a license if their age is greater than 18, otherwise they are not.
We can employ a similar strategy in the Flutter code to display the widgets according to a condition. Let’s check how.
Example
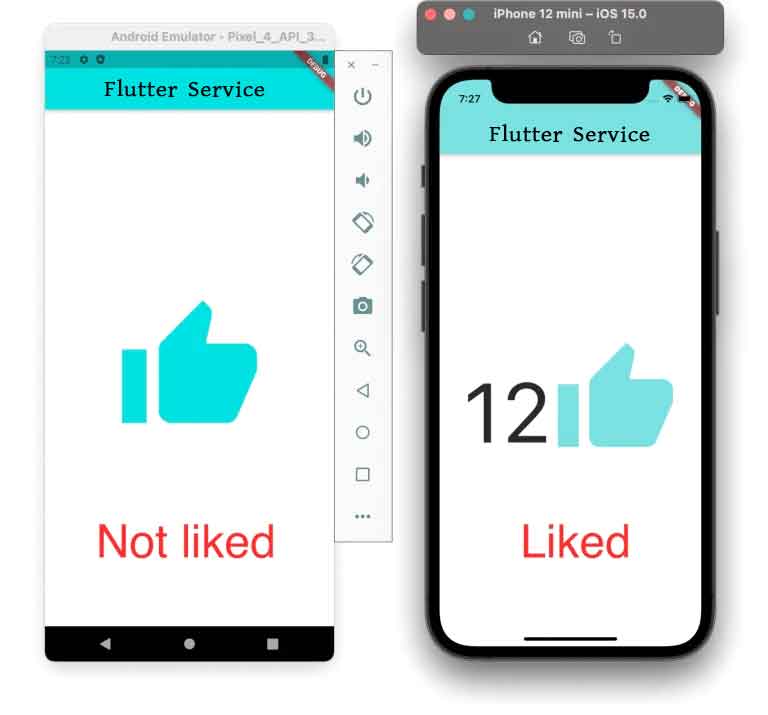
Center(
    child: isLiked
        ? Row(
            mainAxisAlignment: MainAxisAlignment.center,
            crossAxisAlignment: CrossAxisAlignment.end,
            children: const [
              Text(
                '12',
                style: TextStyle(fontSize: 120),
              ),
              Icon(
                Icons.thumb_up,
                size: 180,
                color: Color(0xff6ae792),
              ),
            ],
          )
        : const Icon(
            Icons.thumb_up,
            size: 200,
            color: Colors.black,
          ))
If a post has any likes, the code above will display the number of likes along with a like button. A simple “like” button is all else.
Output
How to use
Use the ternary operator only to check a single condition, if at all possible. The ternary operator should not be nested, and you should use the method to create multiple if-else statements. By doing this, clearer code will be produced.
Making use of the Spread Operator
To add multiple values to a Collection, use the spread operator (…). It first appeared in Dart 2.3. The spread operator must be contained within a collection widget, such as a Column, Row, or another widget.
The following is an example of how to write an if-else statement using the spread operator:
[
  if (age > 18) ...[
    // show license
  ] else ...[
    // show error message
  ]
]
The aforementioned code only displays the license if the user is older than 18.
Sample 1
Column(
  mainAxisAlignment: MainAxisAlignment.center,
  children: [
    if (isShowComment) ...[
      const Icon(
        Icons.comment,
        size: 200,
        color: Color(0xff6ae792),
      )
    ] else ...[
      const Icon(
        Icons.comment,
        size: 100,
        color: Colors.black,
      )
    ]
  ],
)
If the isShowComment variable is true, we display the comment icon inside the Column widget. If not, we display a different widget.
Sample 2
Column(
  mainAxisAlignment: MainAxisAlignment.center,
  children: [
    const Icon(
      Icons.thumb_up,
      size: 100,
      color: Colors.black,
    ),
    if (isShowComment) ...[
      const Icon(
        Icons.comment,
        size: 200,
        color: Color(0xff6ae792),
      )
    ]
  ],
)
This is an additional use case where we display several widgets in a column. If the value of isShowComment is true, we only choose to display a comment widget (along with a Like widget).
Sample 3
Column(
  mainAxisAlignment: MainAxisAlignment.center,
  children: [
    if (isShowComment) ...[
      const Icon(
        Icons.comment,
        size: 200,
        color: Color(0xff6ae792),
      )
    ] else if (isShowLike) ...[
      //Your widget
    ] else ...[
      //Your widget
    ]
  ],
)
As demonstrated in the code above, the spread operator can also be used to create multiple if-else statements.
Output

When to use: If your child is contained within a collection like a Column or Row, it is preferable to write conditional statements using the spread operator.
Utilizing the Method
If none of the methods mentioned above work for you, the next best thing to do is to use a method to write an if-else statement. A clearer code is produced when a condition statement is added to a method.
People, who read this article also read: Flutter SDK Installation on Windows, macOS, Linux
Example:
Center(
  child: getLockStatus(),
)
Widget getLockStatus() {
  if (isLocked) {
    return const Icon(
      Icons.lock_outline,
      size: 200,
      color: Color(0xff6ae792),
    );
  } else {
    return const Icon(
      Icons.lock_open,
      size: 200,
      color: Colors.black,
    );
  }
}
A specific method is now where the if-else clause with a widget (to be returned) is located. In accordance with the return condition inside, the method returns the widget.
Output

How to use
If you want to write clean code and none of the other options work for you, writing a conditional statement inside the method is preferable.
Thanks!
Conclusion
The three approaches to writing an if else statement in a Flutter conditional show widget have been covered in this tutorial, along with a real-world example. Additionally, we discovered the best times to use each one based on your needs.
Would you like to view some additional engaging Flutter tutorials?


